How To
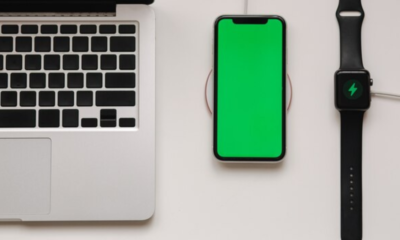
How To Maintain Electronic Gadgets
Getting to know how to maintain electronic gadgets is very important, when you do it the right way. Regular care and maintenance will not only save you money in the long run but also reduce electronic waste and contribute to a sustainable future.

Getting to know how to maintain electronic gadgets is very important, when you do it the right way. maintaining your gadgets ensure they remain in excellent working condition and have a long lifespan, Regular care and maintenance will not only save you money in the long run but also reduce electronic waste and contribute to a sustainable future.
From smartphones and laptops to tablets and gaming consoles, these devices make our lives easier and more enjoyable. However, to ensure they continue to function optimally and have a long lifespan, it’s crucial to clean and maintain them regularly.
In this guide, we will delve into the best practices for cleaning and maintaining your electronic gadgets.
- Gather Your Cleaning Supplies
Before you begin cleaning your electronic gadgets, it’s essential to gather the necessary supplies:
- Microfiber cloths: These are gentle on screens and help prevent scratches.
- Screen cleaning solution: Look for a solution specifically designed for electronics.
- Compressed air can: To remove dust and debris from crevices.
- Isopropyl alcohol (70% or higher): For disinfecting and cleaning hard-to-remove stains.
- Cotton swabs: To clean tight spaces and ports.
- Soft bristle brush: For cleaning keyboards and other hard-to-reach areas.
- Cleaning gloves: To prevent oils from your skin transferring onto the devices.
- Power Off and Unplug
Before cleaning any electronic device, ensure it is powered off and unplugged from any power source. This reduces the risk of electric shock and accidental damage to the device during cleaning
- Cleaning Your Screens
Smartphone and Tablet Screens:
- Apply a small amount of screen cleaning solution to a microfiber cloth.
- Wipe the screen gently in a circular motion, beginning in the middle then moving outward.
- Avoid pressing too hard to prevent damage to the screen.
- Use a dry portion of the cloth to remove any excess moisture.
Laptop and Computer Monitors:
- Follow a similar process as with smartphones and tablets.
- Pay extra attention to the corners and edges of the screen.
- Do not use paper towels or rough fabrics, as they can scratch the screen.
- Cleaning Keyboards and Peripherals
Keyboards:
- Blow away dirt and debris from between the keys with compressed air.
- Dampen a cloth or cotton swab with isopropyl alcohol and clean the keys.
- Before using it once more, let the keyboard thoroughly dry.
Computer Mouse:
- Wipe the surface of the mouse with a cloth dampened with isopropyl alcohol.
- Clean the sensor area with a cotton swab.
- Cleaning Ports and Connectors
Dust and debris can accumulate in charging ports, headphone jacks, and other connectors, affecting the device’s performance. To clean them:
- Use compressed air to blow out dust and debris.
- Gently insert a wooden or plastic toothpick to remove any stubborn particles.
- Be extremely careful not to damage the connectors.
- Cleaning Exterior Surfaces.
Wipe down the entire exterior of your electronic devices with a microfiber cloth dampened with a small amount of screen cleaning solution. Be sure to clean the sides and back of the devices as well.
- Maintaining Battery Health
To extend the life of your gadget’s battery:
- Avoid overcharging by unplugging it when the battery is fully charged.
- Keep your device at a moderate temperature, as extreme heat or cold can harm the battery.
- Use the original charger and cable for charging.
- If you plan to store a gadget for an extended period, charge it to about 50% before storage.
- Protecting Against Malware and Viruses
Regularly update your device’s operating system and install antivirus software to protect against malware and viruses. Be cautious about downloading apps or files from untrusted sources, as they may contain harmful software.
- Organize Cables and Accessories
Keep your cables, chargers, and accessories organized and untangled. Consider using cable organizers or zip ties to keep things neat and prevent damage to cables.
- Avoid Liquid Exposure
Electronic devices and liquids don’t mix well. Keep your gadgets away from water, beverages, and other liquids to prevent accidental spills and damage.
- Use Protective Cases and Screen Protectors
Invest in protective cases and screen protectors to shield your gadgets from accidental drops and scratches. This extra layer of protection can significantly extend the life of your devices.
- Regular Backups
Back up your important data regularly to prevent loss in case of device failure. Cloud storage services and external hard drives are excellent options for data backup.
- Professional Maintenance
If you encounter issues that you can’t resolve on your own, consider seeking professional help. Authorized service centers can diagnose and repair hardware and software problems.
- Dispose of Electronic Waste Properly
When it’s time to replace your old gadgets, recycle or dispose of them responsibly. Many electronics contain hazardous materials that can harm the environment if not handled correctly.
By following the tips outlined in this guide, you can protect your investments and enjoy the full functionality of your devices for years to come.


Google Maps offers a plethora of features to enhance your navigation experience, and one such feature is the ability to explore locations in 3D. By activating the 3D view, users can immerse themselves in a more lifelike representation of cities, landscapes, and landmarks. In this comprehensive guide, we’ll walk you through the step-by-step process of turning on 3D view on Google Maps across different platforms.
For Desktop Users
1. Open Google Maps: Launch your preferred web browser and navigate to the Google Maps website.
2. Switch to Satellite View: On the bottom-left corner of the screen, locate the square box labeled “Satellite” and click on it. This will switch the map view to satellite imagery.
3. Activate 3D View: While in satellite view mode, you’ll notice a “3D” button on the right-hand side of the screen, typically next to the compass icon. Click on this button to activate the 3D view. The map will tilt, providing a three-dimensional perspective.
4. Navigation and Exploration: Use your mouse to navigate in 3D. Click and drag to pan around the map. Hold down the Ctrl key (Cmd on Mac) and drag your mouse to adjust the angle or rotate the view. Scroll up and down to zoom in and out.
For Mobile Users (Android and iOS):
1. Open the Google Maps App: Launch the Google Maps app on your smartphone. If you don’t have the app installed, you can download it from the Google Play Store (for Android) or the Apple App Store (for iOS).
2. Select Satellite View: Once the app is open, tap on the layer icon, typically located in the upper-right corner of the screen. This will open the map type selection menu. Choose “Satellite” from the list of options.
3. Enable 3D View: Unlike the desktop version, activating the 3D view on mobile devices requires a different gesture. Use two fingers to swipe up on the screen. This action will tilt the view, transitioning it into 3D mode.
4. Explore in 3D: Navigate around the map by dragging with one finger. Pinch your fingers together or spread them apart to zoom in and out. To rotate the view, twist two fingers on the screen.
The 3D feature on Google Maps is a valuable tool for exploring and understanding geographical locations in a more immersive way. Whether you’re planning a trip, studying urban landscapes, or simply satisfying your curiosity, activating the 3D view can enhance your mapping experience significantly. By following the step-by-step instructions provided in this guide, you can easily unlock the full potential of Google Maps’ 3D capabilities across desktop and mobile devices. Happy exploring!
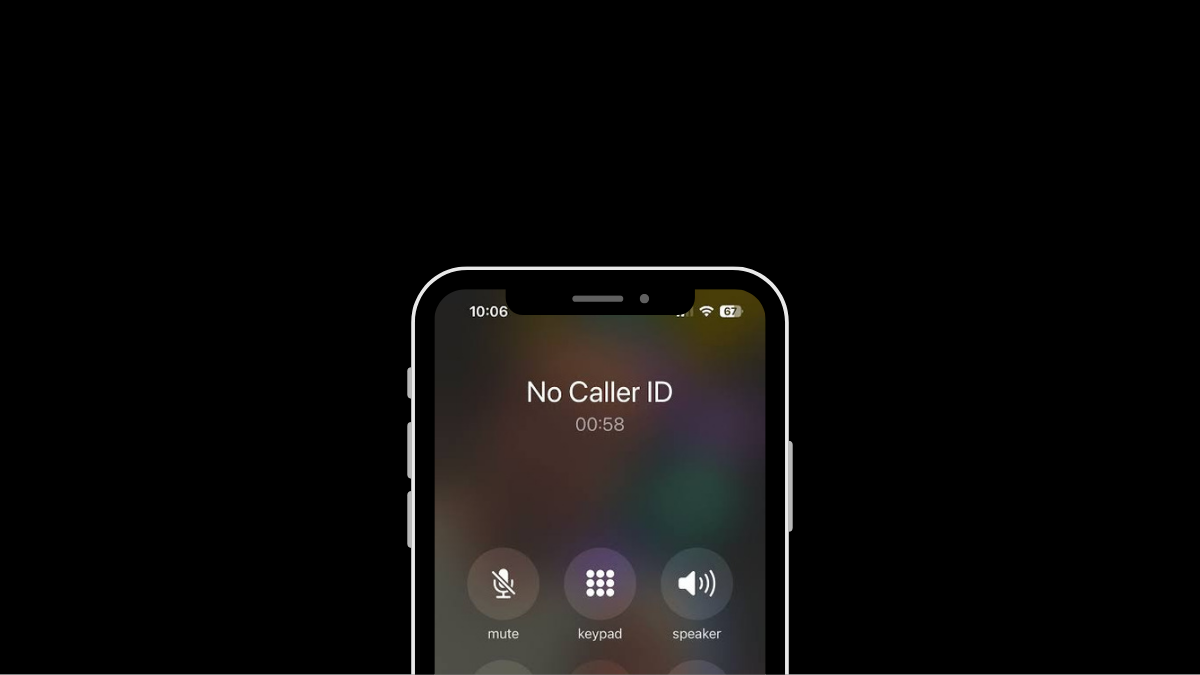
Having your phone number appear as “Private” or “Unknown” can be useful for maintaining privacy, but there are times when you might want to deactivate this feature. Whether you’re making important calls to friends, family, or businesses, having your number visible can enhance communication and ensure your calls are recognized and answered promptly. This guide provides step-by-step instructions for deactivating the private number feature on both iPhone and Android devices, empowering you to take control of your caller ID settings.
Deactivating Private Number on iPhone:
1. Open Settings: Locate and tap the Settings app on your iPhone’s home screen.
2. Access Phone Settings: Scroll down and tap on the “Phone” option in the Settings menu.
3. Caller ID Settings: Within the Phone settings, find and tap on the “Show My Caller ID” option.
4. Toggle Caller ID: Tap the toggle switch next to “Show My Caller ID” to turn it on (ensure it’s green). This action will make your phone number visible to recipients of your calls.
5. Verification: After enabling the setting, make a test call to confirm that your number now appears on the recipient’s caller ID.
6. Completion: Once your caller ID is successfully displayed, the private number feature is deactivated on your iPhone.
Deactivating Private Number on Android:
1. Open Phone App: Launch the Phone app on your Android device as if you were going to make a call.
2. Access Menu: Look for the three dots (menu) or additional options usually located at the top right corner of the screen. Tap on it.
3. Navigate to Settings: From the menu, select “Settings” or a similar option.
4. Find Caller ID Settings: Scroll through the settings options until you find “Supplementary Services,” “More settings,” or “Call settings.” Tap on it.
5. Caller ID Setting: Tap on “Show my caller ID,” “Caller ID,” or a similar option listed in the settings.
6. Select Display Option: Depending on your device, choose “Show number” or the equivalent to ensure your phone number is displayed to recipients of your calls.
7. Verification: Make a test call after adjusting the settings to confirm that your number now appears on the recipient’s caller ID.
8. Completion: Once your number is successfully displayed, the private number feature is deactivated on your Android device.
Additional Tips:
Patience: Changes to caller ID settings may take a few minutes to take effect. If your number still appears private immediately after making changes, wait a bit and try again.
Restart Device: If the settings don’t seem to apply, restarting your device can help refresh the settings.
Carrier Settings: If the issue persists, contact your phone carrier directly. They may have set your number to appear as private, and they can assist you in changing this setting.
By following these steps, you can easily deactivate the private number feature on both iPhone and Android devices, ensuring your calls are recognized and answered promptly.

Xiaomi Redmi Note 13R Specifications
Android 15 Beta 2 Unveiled With Enhanced Features

OPPO Reno 12 Series: Design, Launch Date and Specifications
-

 Tech News7 days ago
OnePlus 13 and 13R Potential Designs Unveiled
-

 Tech News4 days ago
Android to Introduce Theft Detection Lock: Detecting When Your Phone is Snatched
-

 Tech News7 days ago
Sony Xperia 1 VI Camera Sensors Revealed
-

 Tech News7 days ago
Apple Nearing Deal with OpenAI to Integrate Generative AI Features into iOS 18
-

 Reviews4 days ago
Sony Xperia 1 VI Set for Unveiling With a Remarkable Camera
-

 Tech News6 days ago
Google Pixel 9 Series to Introduce Four Distinct Models
-
 Reviews3 days ago
Xiaomi Redmi Note 13R Specifications
-
 Reviews3 days ago
OPPO Reno 12 Series: Design, Launch Date and Specifications