How To
How To Protect Your Gadgets From Physical Damage
Our smartphones, tablets, laptops, and other devices are more than mere tools; they hold our memories, our work, and our connections. We will walk through how to protect your gadget from physical damage.

keeping gadgets safe from physical harm is akin to protecting a cherished friend. Our smartphones, tablets, laptops, and other devices are more than mere tools; they hold our memories, our work, and our connections. we will walk through how to protect your gadget from physical damage. From smartphones to laptops, tablets to your cameras.
However, with the convenience they bring, gadgets are also susceptible to physical damage. Whether it’s a cracked smartphone screen or a water-damaged laptop, accidents can happen. But fear not!
In this comprehensive guide, we will explore effective strategies to safeguard your precious gadgets from physical harm.
Invest in Quality Protective Cases
One of the simplest yet most effective ways to shield your gadgets from physical damage is by investing in high-quality protective cases. These cases come in various forms, such as rugged cases for smartphones, shockproof covers for tablets, and waterproof pouches for cameras.
For smartphones, opt for cases that offer both shock-absorbing capabilities and a raised lip around the screen to prevent direct impact. Look for cases that have undergone drop-test certifications for added peace of mind.
Use Screen Protectors
The screen is one of the most vulnerable parts of any gadget. A small scratch or crack can significantly reduce the usability of your device. To prevent this, apply a screen
protector. These thin, transparent films can shield your device’s screen from scratches and minor impacts.
For added protection, consider tempered glass screen protectors. They are tougher and more durable than plastic ones, offering a higher level of safeguarding against drops and impacts.
Handle with Care
No amount of protective gear can replace the value of careful handling. Avoid dropping your gadgets whenever possible. When carrying your smartphone, ensure it’s securely in your pocket or purse. When using a laptop, open and close it gently to prevent hinge damage.
Additionally, avoid placing heavy objects on top of your gadgets, as this can lead to screen or frame damage. Treat your devices with the care they deserve, and they’ll serve you longer.
Keep Gadgets Dry
Water and electronics are a disastrous combination. To protect your gadgets from water damage:
- Avoid using your smartphone or tablet in the rain.
- Don’t place drinks or liquids near your gadgets.
- Keep your devices away from pools, sinks, or any source of water.
- Consider using waterproof pouches or bags when near water.
In case of accidental exposure to moisture, power off your gadget immediately and seek professional assistance or rice-drying methods to prevent further damage.
Protect Against Extreme Temperatures
Extreme temperatures can be detrimental to electronic devices. High heat can cause batteries to swell or even explode, while extreme cold can affect the device’s performance. To protect your gadgets:
- Avoid leaving them in direct sunlight or inside a hot car.
- Don’t expose them to freezing temperatures for extended periods.
- Allow your device to acclimate to room temperature before turning it on if it has been in extreme conditions.
Regular Maintenance
Performing routine maintenance on your gadgets can help prolong their lifespan and prevent physical damage. Here are some tips:
- Clean your device regularly using a soft, lint-free cloth to remove dust and smudges.
- Check and tighten any loose screws or components.
- Keep your device’s software and firmware updated to ensure optimal performance and security.
Insurance and Extended Warranty
Consider getting insurance or an extended warranty for your expensive gadgets. These plans can provide coverage in case of accidental damage, theft, or other unforeseen events. While it may involve an additional cost, it can offer peace of mind knowing that you’re financially protected in case of mishaps.
Secure Your Gadgets
Preventing physical damage isn’t just about external factors; it’s also about safeguarding your devices from theft. Here’s what you can do:
- Use strong, unique passwords and enable biometric authentication (fingerprint or facial recognition) to secure your gadgets.
- Install tracking apps or services that can help locate your device if it’s lost or stolen.
- Avoid leaving your gadgets unattended in public places, and be mindful of your surroundings.
Transport Safely
When traveling with your gadgets, invest in protective carrying cases or sleeves. These accessories are designed to keep your devices safe during transit. Ensure that the bag or case you use has proper padding and compartments to prevent your gadgets from bumping into each other.
Learn DIY Repairs
While it’s essential to take care of your gadgets, accidents can still happen. Learning basic DIY repair skills can be a valuable asset. Simple tasks like replacing a smartphone screen or a laptop keyboard can save you money on professional repairs.
By following the tips and strategies outlined in this comprehensive guide, you can significantly reduce the risk of accidents and extend the lifespan of your devices. Remember, prevention is key, and a little care can go a long way in keeping your gadgets in top-notch condition.


Google Maps offers a plethora of features to enhance your navigation experience, and one such feature is the ability to explore locations in 3D. By activating the 3D view, users can immerse themselves in a more lifelike representation of cities, landscapes, and landmarks. In this comprehensive guide, we’ll walk you through the step-by-step process of turning on 3D view on Google Maps across different platforms.
For Desktop Users
1. Open Google Maps: Launch your preferred web browser and navigate to the Google Maps website.
2. Switch to Satellite View: On the bottom-left corner of the screen, locate the square box labeled “Satellite” and click on it. This will switch the map view to satellite imagery.
3. Activate 3D View: While in satellite view mode, you’ll notice a “3D” button on the right-hand side of the screen, typically next to the compass icon. Click on this button to activate the 3D view. The map will tilt, providing a three-dimensional perspective.
4. Navigation and Exploration: Use your mouse to navigate in 3D. Click and drag to pan around the map. Hold down the Ctrl key (Cmd on Mac) and drag your mouse to adjust the angle or rotate the view. Scroll up and down to zoom in and out.
For Mobile Users (Android and iOS):
1. Open the Google Maps App: Launch the Google Maps app on your smartphone. If you don’t have the app installed, you can download it from the Google Play Store (for Android) or the Apple App Store (for iOS).
2. Select Satellite View: Once the app is open, tap on the layer icon, typically located in the upper-right corner of the screen. This will open the map type selection menu. Choose “Satellite” from the list of options.
3. Enable 3D View: Unlike the desktop version, activating the 3D view on mobile devices requires a different gesture. Use two fingers to swipe up on the screen. This action will tilt the view, transitioning it into 3D mode.
4. Explore in 3D: Navigate around the map by dragging with one finger. Pinch your fingers together or spread them apart to zoom in and out. To rotate the view, twist two fingers on the screen.
The 3D feature on Google Maps is a valuable tool for exploring and understanding geographical locations in a more immersive way. Whether you’re planning a trip, studying urban landscapes, or simply satisfying your curiosity, activating the 3D view can enhance your mapping experience significantly. By following the step-by-step instructions provided in this guide, you can easily unlock the full potential of Google Maps’ 3D capabilities across desktop and mobile devices. Happy exploring!
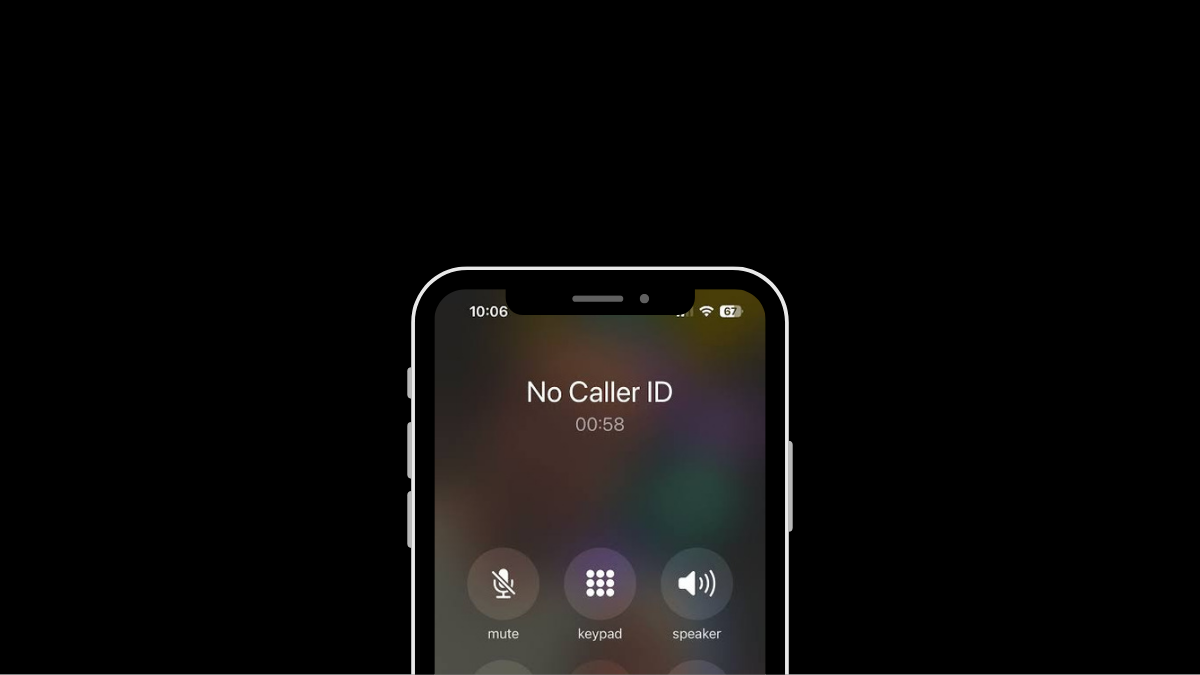
Having your phone number appear as “Private” or “Unknown” can be useful for maintaining privacy, but there are times when you might want to deactivate this feature. Whether you’re making important calls to friends, family, or businesses, having your number visible can enhance communication and ensure your calls are recognized and answered promptly. This guide provides step-by-step instructions for deactivating the private number feature on both iPhone and Android devices, empowering you to take control of your caller ID settings.
Deactivating Private Number on iPhone:
1. Open Settings: Locate and tap the Settings app on your iPhone’s home screen.
2. Access Phone Settings: Scroll down and tap on the “Phone” option in the Settings menu.
3. Caller ID Settings: Within the Phone settings, find and tap on the “Show My Caller ID” option.
4. Toggle Caller ID: Tap the toggle switch next to “Show My Caller ID” to turn it on (ensure it’s green). This action will make your phone number visible to recipients of your calls.
5. Verification: After enabling the setting, make a test call to confirm that your number now appears on the recipient’s caller ID.
6. Completion: Once your caller ID is successfully displayed, the private number feature is deactivated on your iPhone.
Deactivating Private Number on Android:
1. Open Phone App: Launch the Phone app on your Android device as if you were going to make a call.
2. Access Menu: Look for the three dots (menu) or additional options usually located at the top right corner of the screen. Tap on it.
3. Navigate to Settings: From the menu, select “Settings” or a similar option.
4. Find Caller ID Settings: Scroll through the settings options until you find “Supplementary Services,” “More settings,” or “Call settings.” Tap on it.
5. Caller ID Setting: Tap on “Show my caller ID,” “Caller ID,” or a similar option listed in the settings.
6. Select Display Option: Depending on your device, choose “Show number” or the equivalent to ensure your phone number is displayed to recipients of your calls.
7. Verification: Make a test call after adjusting the settings to confirm that your number now appears on the recipient’s caller ID.
8. Completion: Once your number is successfully displayed, the private number feature is deactivated on your Android device.
Additional Tips:
Patience: Changes to caller ID settings may take a few minutes to take effect. If your number still appears private immediately after making changes, wait a bit and try again.
Restart Device: If the settings don’t seem to apply, restarting your device can help refresh the settings.
Carrier Settings: If the issue persists, contact your phone carrier directly. They may have set your number to appear as private, and they can assist you in changing this setting.
By following these steps, you can easily deactivate the private number feature on both iPhone and Android devices, ensuring your calls are recognized and answered promptly.

Xiaomi Redmi Note 13R Specifications
Android 15 Beta 2 Unveiled With Enhanced Features

OPPO Reno 12 Series: Design, Launch Date and Specifications
-

 Tech News7 days ago
OnePlus 13 and 13R Potential Designs Unveiled
-

 Tech News3 days ago
Android to Introduce Theft Detection Lock: Detecting When Your Phone is Snatched
-

 Tech News6 days ago
Sony Xperia 1 VI Camera Sensors Revealed
-

 Tech News7 days ago
Apple Nearing Deal with OpenAI to Integrate Generative AI Features into iOS 18
-

 Reviews4 days ago
Sony Xperia 1 VI Set for Unveiling With a Remarkable Camera
-

 Tech News6 days ago
Google Pixel 9 Series to Introduce Four Distinct Models
-
 Reviews2 days ago
Xiaomi Redmi Note 13R Specifications
-
 Reviews3 days ago
OPPO Reno 12 Series: Design, Launch Date and Specifications