How To
How to Stay Organised with Calendar and Reminder Apps

In the fast-paced world we live in, managing our time effectively has become more crucial than ever. With numerous responsibilities and tasks vying for our attention, staying organised is a key factor in achieving productivity and reducing stress.
One powerful tool that can aid in this endeavor is the use of calendar and reminder apps. In this comprehensive guide, we will explore the ins and outs of leveraging these apps to streamline your schedule, boost productivity, and regain control of your time.
Understanding the Benefits of Calendar and Reminder Apps
Calendar and reminder apps offer a plethora of benefits, making them indispensable for those seeking a more organized lifestyle. These apps serve as centralized hubs for managing appointments, deadlines, and to-dos.
By having a visual representation of your schedule, you can gain a better understanding of your time commitments and allocate resources more efficiently.
Additionally, these apps can send timely reminders, ensuring you never miss an important meeting or forget a crucial task. The ability to set both short-term and long-term reminders allows for better time management and reduced stress levels.
Choosing the Right Apps for You
The app market is flooded with a variety of calendar and reminder applications, each with its own set of features. It’s essential to choose apps that align with your specific needs and preferences.
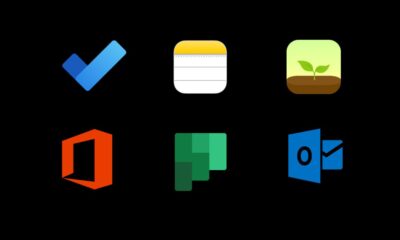
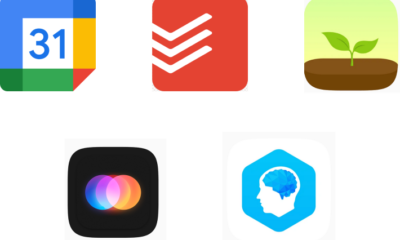
Some popular options include Google Calendar, Microsoft Outlook, Apple Calendar, Todoist, and Any.do.
Consider factors such as cross-platform compatibility, ease of use, integration with other tools, and customization options when making your selection. Experiment with a few to find the one that resonates best with your workflow.
Setting Up Your Calendar
Once you have chosen your preferred app, the next step is to set up your calendar effectively. Start by inputting all your fixed commitments, such as work hours, classes, and recurring appointments.
Color-code different categories to visually distinguish between personal and professional commitments.
Take advantage of features like reminders, event notifications, and the ability to invite others to events. These functionalities not only keep you on track but also facilitate seamless collaboration with colleagues, friends, and family.
Embracing Task Management with Reminder Apps
In tandem with your calendar, reminder apps can elevate your task management game. Create a comprehensive to-do list, breaking down larger projects into smaller, more manageable tasks. Set deadlines for each task to create a sense of urgency and prioritize effectively.
Many reminder apps offer features like subtasks, notes, and attachments, allowing you to add context to your tasks. Utilize these tools to provide additional information or resources necessary to complete each item on your list.
Cultivating Consistency and Discipline
While apps can significantly enhance organization, cultivating consistency and discipline is equally crucial. Make it a habit to review your calendar and to-do list regularly. Use downtime to plan upcoming tasks and reassess priorities.
Consistency also involves sticking to your set schedules and deadlines. Treat your digital calendar with the same respect you would a physical planner. This commitment to consistency will help establish a routine that promotes productivity and organisation.
Integrating Apps into Your Workflow
To truly maximize the benefits of calendar and reminder apps, integrate them seamlessly into your daily workflow. Explore the app’s settings to customize notifications, preferences, and synchronization options.
Sync your calendar across devices to ensure you have access to your schedule at all times.
Furthermore, explore integration possibilities with other productivity tools such as note-taking apps, project management platforms, and communication tools. This interconnected approach creates a cohesive digital ecosystem that enhances your overall organisational efficiency.
In conclusion, mastering the art of staying organized with calendar and reminder apps requires a combination of selecting the right tools, effective setup, and disciplined execution.
By harnessing the capabilities of these digital assistants, you can regain control of your time, reduce stress, and boost productivity.
Embrace the potential of calendar and reminder apps as your allies in the quest for a more organized and balanced life.
Frequently Asked Questions
Q1: How can I avoid feeling overwhelmed by a packed schedule?
- Break Tasks Down: Divide large tasks into smaller, manageable sub-tasks.
- Set Realistic Goals: Be realistic about what you can accomplish in a given time frame.
- Learn to Say No: Avoid overcommitting by learning to decline non-essential tasks.
- Build in Buffer Time: Allow for breaks between tasks to avoid feeling rushed.
Q2: Can I integrate calendar and reminder apps with other tools?
- Yes, many calendar and reminder apps offer integrations with other productivity tools, such as project management apps, note-taking apps, and communication tools. This ensures a seamless workflow and better organisation.
Q3: How do I ensure I don’t miss important reminders?
- Choose the Right Notification Settings: Set up notifications for important events and tasks.
- Multiple Reminders: Consider setting multiple reminders for critical tasks.
- Sync Across Devices: Ensure your calendar and reminder apps sync across all your devices.
Q4: What are some advanced features of calendar apps that can enhance organisation?
- Collaborative Features: Share calendars with colleagues or family for better coordination.
- Location-Based Reminders: Receive reminders based on your location.
- Smart Scheduling: Some apps offer AI-driven features to suggest optimal time slots for events.
Q5: How can I stay consistent with using calendar and reminder apps?
- Make It a Habit: Schedule specific times each day or week for updating your calendar.
- Set Routine Reminders: Create recurring reminders to prompt regular updates.
- Gamify Your Tasks: Turn task completion into a game to stay motivated.


Google Maps offers a plethora of features to enhance your navigation experience, and one such feature is the ability to explore locations in 3D. By activating the 3D view, users can immerse themselves in a more lifelike representation of cities, landscapes, and landmarks. In this comprehensive guide, we’ll walk you through the step-by-step process of turning on 3D view on Google Maps across different platforms.
For Desktop Users
1. Open Google Maps: Launch your preferred web browser and navigate to the Google Maps website.
2. Switch to Satellite View: On the bottom-left corner of the screen, locate the square box labeled “Satellite” and click on it. This will switch the map view to satellite imagery.
3. Activate 3D View: While in satellite view mode, you’ll notice a “3D” button on the right-hand side of the screen, typically next to the compass icon. Click on this button to activate the 3D view. The map will tilt, providing a three-dimensional perspective.
4. Navigation and Exploration: Use your mouse to navigate in 3D. Click and drag to pan around the map. Hold down the Ctrl key (Cmd on Mac) and drag your mouse to adjust the angle or rotate the view. Scroll up and down to zoom in and out.
For Mobile Users (Android and iOS):
1. Open the Google Maps App: Launch the Google Maps app on your smartphone. If you don’t have the app installed, you can download it from the Google Play Store (for Android) or the Apple App Store (for iOS).
2. Select Satellite View: Once the app is open, tap on the layer icon, typically located in the upper-right corner of the screen. This will open the map type selection menu. Choose “Satellite” from the list of options.
3. Enable 3D View: Unlike the desktop version, activating the 3D view on mobile devices requires a different gesture. Use two fingers to swipe up on the screen. This action will tilt the view, transitioning it into 3D mode.
4. Explore in 3D: Navigate around the map by dragging with one finger. Pinch your fingers together or spread them apart to zoom in and out. To rotate the view, twist two fingers on the screen.
The 3D feature on Google Maps is a valuable tool for exploring and understanding geographical locations in a more immersive way. Whether you’re planning a trip, studying urban landscapes, or simply satisfying your curiosity, activating the 3D view can enhance your mapping experience significantly. By following the step-by-step instructions provided in this guide, you can easily unlock the full potential of Google Maps’ 3D capabilities across desktop and mobile devices. Happy exploring!
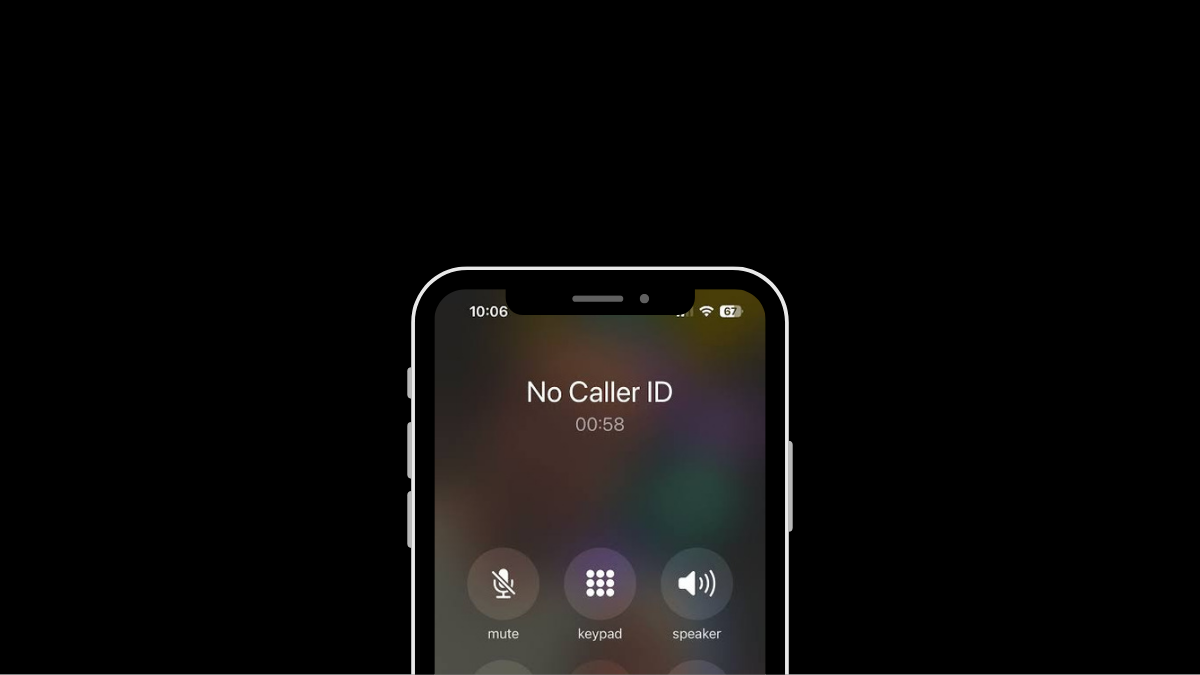
Having your phone number appear as “Private” or “Unknown” can be useful for maintaining privacy, but there are times when you might want to deactivate this feature. Whether you’re making important calls to friends, family, or businesses, having your number visible can enhance communication and ensure your calls are recognized and answered promptly. This guide provides step-by-step instructions for deactivating the private number feature on both iPhone and Android devices, empowering you to take control of your caller ID settings.
Deactivating Private Number on iPhone:
1. Open Settings: Locate and tap the Settings app on your iPhone’s home screen.
2. Access Phone Settings: Scroll down and tap on the “Phone” option in the Settings menu.
3. Caller ID Settings: Within the Phone settings, find and tap on the “Show My Caller ID” option.
4. Toggle Caller ID: Tap the toggle switch next to “Show My Caller ID” to turn it on (ensure it’s green). This action will make your phone number visible to recipients of your calls.
5. Verification: After enabling the setting, make a test call to confirm that your number now appears on the recipient’s caller ID.
6. Completion: Once your caller ID is successfully displayed, the private number feature is deactivated on your iPhone.
Deactivating Private Number on Android:
1. Open Phone App: Launch the Phone app on your Android device as if you were going to make a call.
2. Access Menu: Look for the three dots (menu) or additional options usually located at the top right corner of the screen. Tap on it.
3. Navigate to Settings: From the menu, select “Settings” or a similar option.
4. Find Caller ID Settings: Scroll through the settings options until you find “Supplementary Services,” “More settings,” or “Call settings.” Tap on it.
5. Caller ID Setting: Tap on “Show my caller ID,” “Caller ID,” or a similar option listed in the settings.
6. Select Display Option: Depending on your device, choose “Show number” or the equivalent to ensure your phone number is displayed to recipients of your calls.
7. Verification: Make a test call after adjusting the settings to confirm that your number now appears on the recipient’s caller ID.
8. Completion: Once your number is successfully displayed, the private number feature is deactivated on your Android device.
Additional Tips:
Patience: Changes to caller ID settings may take a few minutes to take effect. If your number still appears private immediately after making changes, wait a bit and try again.
Restart Device: If the settings don’t seem to apply, restarting your device can help refresh the settings.
Carrier Settings: If the issue persists, contact your phone carrier directly. They may have set your number to appear as private, and they can assist you in changing this setting.
By following these steps, you can easily deactivate the private number feature on both iPhone and Android devices, ensuring your calls are recognized and answered promptly.

Xiaomi Redmi Note 13R Specifications
Android 15 Beta 2 Unveiled With Enhanced Features

OPPO Reno 12 Series: Design, Launch Date and Specifications
-

 Tech News7 days ago
OnePlus 13 and 13R Potential Designs Unveiled
-

 Tech News4 days ago
Android to Introduce Theft Detection Lock: Detecting When Your Phone is Snatched
-

 Tech News7 days ago
Sony Xperia 1 VI Camera Sensors Revealed
-

 Tech News7 days ago
Apple Nearing Deal with OpenAI to Integrate Generative AI Features into iOS 18
-

 Reviews4 days ago
Sony Xperia 1 VI Set for Unveiling With a Remarkable Camera
-

 Tech News6 days ago
Google Pixel 9 Series to Introduce Four Distinct Models
-
 Reviews3 days ago
Xiaomi Redmi Note 13R Specifications
-
 Reviews3 days ago
OPPO Reno 12 Series: Design, Launch Date and Specifications