How To
How to Setup Parental Controls on iOS

Enable parental controls on your child’s iPhone, iPad, or iPod touch using Content & Privacy Restrictions in Screen Time. This allows you to block or limit specific apps and features, as well as restrict settings for explicit content, purchases, downloads, and privacy. Ensure your parental control settings sync across devices by updating all devices in your Family Sharing group to the latest software version before activating or modifying the controls.
Set Content & Privacy Restrictions
1. Open Settings and select Screen Time.
2. Turn on Screen Time and choose between “This is My [Device]” or “This is My Child’s [Device].”
- If you’re the parent or guardian of your device and want to prevent another family member from changing your settings, tap Use Screen Time Passcode to create a passcode, then re-enter the passcode to confirm. After you confirm your passcode you’ll be asked to enter your Apple ID and password. This can be used to reset your Screen Time passcode if you forget it.
- If you’re setting up Screen Time on your child’s device, follow the prompts until you get to Screen Time Passcode and enter a passcode. Re-enter the passcode to confirm. After you confirm your passcode you’ll be asked to enter your Apple ID and password. This can be used to reset your Screen Time passcode if you forget it.
3. Tap Content & Privacy Restrictions. If asked, enter your passcode, then turn on Content & Privacy Restrictions.
Select a passcode distinct from the one used to unlock your device. To modify or disable the passcode on your child’s device, go to Settings > Screen Time > [your child’s name]. Choose either Change Screen Time Passcode or Turn Off Screen Time Passcode, and authenticate the adjustment using Face ID, Touch ID, or your device passcode.
If using iOS 16 or a newer version, during Screen Time setup for a child’s device, you can establish age-related restrictions for content in apps, books, TV shows, and movies by following the onscreen instructions.
Frequently Asked Questions
1. Q: Can I block explicit content in Safari using Parental Controls?
A: Yes, you can restrict explicit content in Safari by adjusting Content & Privacy Restrictions under Screen Time settings.
2. Q: How do I limit app usage for my child on iOS?
A: Utilize App Limits in Screen Time settings to control and set time restrictions for specific apps.
3. Q: Can I restrict in-app purchases using Parental Controls?
A: Yes, you can prevent unintended purchases by enabling restrictions for in-app purchases in Content & Privacy Restrictions.
4. Q: Are there options to filter age-appropriate content in the App Store?
A: Yes, you can set age restrictions for app downloads and purchases in the Screen Time settings.
5.Q: How do I manage explicit music and movies with Parental Controls?
A: Customize content restrictions in Screen Time to prevent explicit music and limit access to movies with specific ratings.
6.Q: Can I receive reports on my child’s device usage?
A: Yes, Screen Time provides activity reports, allowing you to monitor your child’s device usage.
7. Q: What should I do if I forget my Parental Controls passcode?
A: You can reset the passcode through your Apple ID settings or contact Apple Support for assistance.
8. Q: Can I set different restrictions for multiple iOS devices within a family?
A: Yes, you can manage and customize Parental Controls individually for each iOS device linked to your family sharing account.


Google Maps offers a plethora of features to enhance your navigation experience, and one such feature is the ability to explore locations in 3D. By activating the 3D view, users can immerse themselves in a more lifelike representation of cities, landscapes, and landmarks. In this comprehensive guide, we’ll walk you through the step-by-step process of turning on 3D view on Google Maps across different platforms.
For Desktop Users
1. Open Google Maps: Launch your preferred web browser and navigate to the Google Maps website.
2. Switch to Satellite View: On the bottom-left corner of the screen, locate the square box labeled “Satellite” and click on it. This will switch the map view to satellite imagery.
3. Activate 3D View: While in satellite view mode, you’ll notice a “3D” button on the right-hand side of the screen, typically next to the compass icon. Click on this button to activate the 3D view. The map will tilt, providing a three-dimensional perspective.
4. Navigation and Exploration: Use your mouse to navigate in 3D. Click and drag to pan around the map. Hold down the Ctrl key (Cmd on Mac) and drag your mouse to adjust the angle or rotate the view. Scroll up and down to zoom in and out.
For Mobile Users (Android and iOS):
1. Open the Google Maps App: Launch the Google Maps app on your smartphone. If you don’t have the app installed, you can download it from the Google Play Store (for Android) or the Apple App Store (for iOS).
2. Select Satellite View: Once the app is open, tap on the layer icon, typically located in the upper-right corner of the screen. This will open the map type selection menu. Choose “Satellite” from the list of options.
3. Enable 3D View: Unlike the desktop version, activating the 3D view on mobile devices requires a different gesture. Use two fingers to swipe up on the screen. This action will tilt the view, transitioning it into 3D mode.
4. Explore in 3D: Navigate around the map by dragging with one finger. Pinch your fingers together or spread them apart to zoom in and out. To rotate the view, twist two fingers on the screen.
The 3D feature on Google Maps is a valuable tool for exploring and understanding geographical locations in a more immersive way. Whether you’re planning a trip, studying urban landscapes, or simply satisfying your curiosity, activating the 3D view can enhance your mapping experience significantly. By following the step-by-step instructions provided in this guide, you can easily unlock the full potential of Google Maps’ 3D capabilities across desktop and mobile devices. Happy exploring!
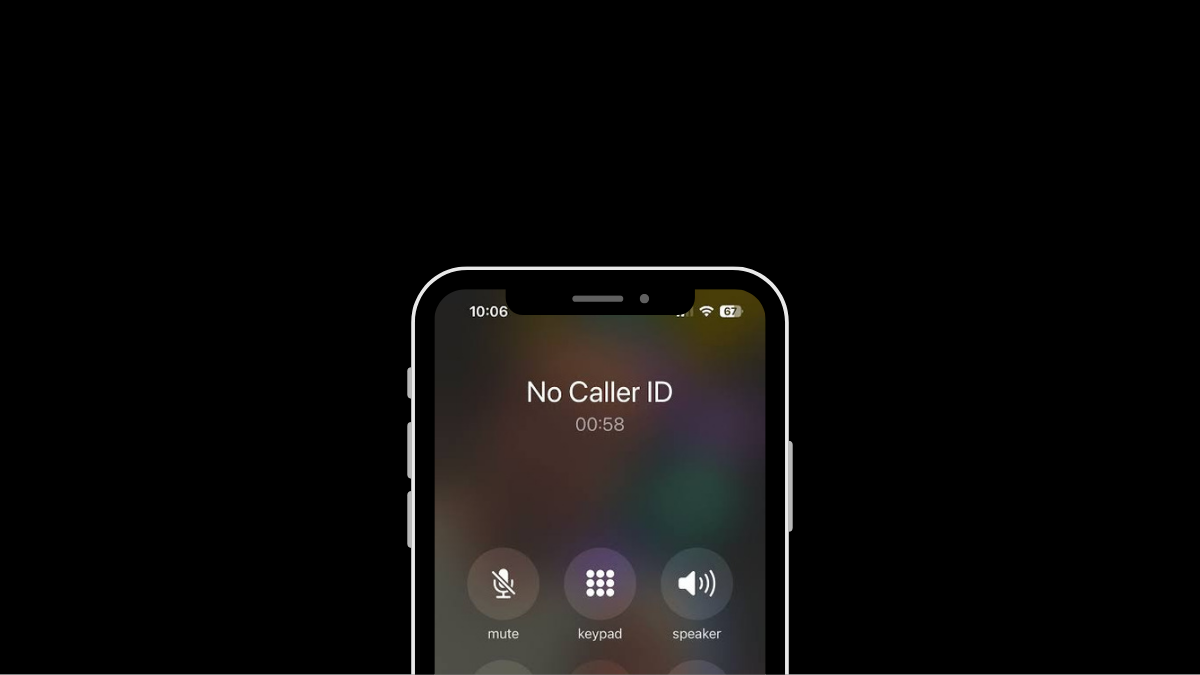
Having your phone number appear as “Private” or “Unknown” can be useful for maintaining privacy, but there are times when you might want to deactivate this feature. Whether you’re making important calls to friends, family, or businesses, having your number visible can enhance communication and ensure your calls are recognized and answered promptly. This guide provides step-by-step instructions for deactivating the private number feature on both iPhone and Android devices, empowering you to take control of your caller ID settings.
Deactivating Private Number on iPhone:
1. Open Settings: Locate and tap the Settings app on your iPhone’s home screen.
2. Access Phone Settings: Scroll down and tap on the “Phone” option in the Settings menu.
3. Caller ID Settings: Within the Phone settings, find and tap on the “Show My Caller ID” option.
4. Toggle Caller ID: Tap the toggle switch next to “Show My Caller ID” to turn it on (ensure it’s green). This action will make your phone number visible to recipients of your calls.
5. Verification: After enabling the setting, make a test call to confirm that your number now appears on the recipient’s caller ID.
6. Completion: Once your caller ID is successfully displayed, the private number feature is deactivated on your iPhone.
Deactivating Private Number on Android:
1. Open Phone App: Launch the Phone app on your Android device as if you were going to make a call.
2. Access Menu: Look for the three dots (menu) or additional options usually located at the top right corner of the screen. Tap on it.
3. Navigate to Settings: From the menu, select “Settings” or a similar option.
4. Find Caller ID Settings: Scroll through the settings options until you find “Supplementary Services,” “More settings,” or “Call settings.” Tap on it.
5. Caller ID Setting: Tap on “Show my caller ID,” “Caller ID,” or a similar option listed in the settings.
6. Select Display Option: Depending on your device, choose “Show number” or the equivalent to ensure your phone number is displayed to recipients of your calls.
7. Verification: Make a test call after adjusting the settings to confirm that your number now appears on the recipient’s caller ID.
8. Completion: Once your number is successfully displayed, the private number feature is deactivated on your Android device.
Additional Tips:
Patience: Changes to caller ID settings may take a few minutes to take effect. If your number still appears private immediately after making changes, wait a bit and try again.
Restart Device: If the settings don’t seem to apply, restarting your device can help refresh the settings.
Carrier Settings: If the issue persists, contact your phone carrier directly. They may have set your number to appear as private, and they can assist you in changing this setting.
By following these steps, you can easily deactivate the private number feature on both iPhone and Android devices, ensuring your calls are recognized and answered promptly.

Xiaomi Redmi Note 13R Specifications
Android 15 Beta 2 Unveiled With Enhanced Features

OPPO Reno 12 Series: Design, Launch Date and Specifications
-

 Tech News7 days ago
OnePlus 13 and 13R Potential Designs Unveiled
-

 Tech News4 days ago
Android to Introduce Theft Detection Lock: Detecting When Your Phone is Snatched
-

 Tech News7 days ago
Sony Xperia 1 VI Camera Sensors Revealed
-

 Tech News7 days ago
Apple Nearing Deal with OpenAI to Integrate Generative AI Features into iOS 18
-

 Reviews4 days ago
Sony Xperia 1 VI Set for Unveiling With a Remarkable Camera
-

 Tech News6 days ago
Google Pixel 9 Series to Introduce Four Distinct Models
-
 Reviews3 days ago
OPPO Reno 12 Series: Design, Launch Date and Specifications
-
 Reviews3 days ago
Xiaomi Redmi Note 13R Specifications