How To
How To Get The Best Gaming Setup.

In the ever-evolving world of gaming, having a top-notch gaming setup can make all the difference between a frustrating experience and a victorious one. Whether you are a casual gamer or a dedicated enthusiast, optimizing your gaming setup is crucial for peak performance and immersive gameplay.
In this comprehensive guide, we will delve into the intricacies of creating the ultimate gaming setup, covering everything from hardware and software to ergonomics and aesthetics.
So, let’s embark on a journey to level up your game and transform your gaming space into a haven of digital adventures!
Hardware Essentials
- Powerful Gaming PC or Console: The heart of your gaming setup is your gaming platform. Invest in a powerful gaming PC or console that can handle the latest titles with ease. Keep your hardware up to date to ensure optimal performance.
- Monitor Selection: Choose a high-refresh-rate monitor with low input lag for a smooth and responsive gaming experience. Consider factors like resolution and panel technology to match your gaming preferences.
- Gaming Peripherals: Quality gaming peripherals can significantly impact your gameplay. Invest in a gaming keyboard, mouse, and headset tailored to your preferences, whether it’s mechanical switches, high DPI sensors, or immersive audio.
- Graphics Card and CPU: These components are vital for gaming performance. Keep them updated to run games at their best. Overclocking can also squeeze extra performance out of your hardware.
Optimizing Your Software
- Drivers and Updates: Regularly update your graphics drivers and game software to benefit from performance improvements and bug fixes. Many games receive optimizations through patches.
- Adjust Graphics Settings: Fine-tune in-game graphics settings to balance visual fidelity and performance. Lowering settings like shadows and anti-aliasing can significantly boost frame rates.
- Game Launchers and Management: Keep your game library organised using platforms like Steam, Epic Games, or others. To free up system resources, close any background apps that aren’t necessary.
Ergonomics and Comfort
- Ergonomic Gaming Chair: Invest in an ergonomic gaming chair that supports your posture during long gaming sessions. Proper lumbar support can prevent discomfort and fatigue.
- Monitor Placement: Position your monitor at eye level to reduce strain on your neck. To prevent glare on the screen, make sure the lighting is appropriate.
- Keyboard and Mouse Placement: Maintain a comfortable hand position with your keyboard and mouse. Consider wrist rests and mouse pads with adequate space for smooth movement.
- Cable Management: Keep cables organised and out of the way to prevent tripping hazards and maintain a clean gaming space.
Aesthetics and Personalisation
- Gaming Room Decor: Personalize your gaming space with posters, LED lighting, and gaming-themed decor. Make it a reflection of your gaming identity.
- Customization: Customize your gaming PC case and peripherals with unique designs and RGB lighting for a visually appealing setup.
- Cohesive Color Scheme: Choose a colour scheme for your setup that resonates with your style and creates a cohesive look.
Optimizing your gaming setup is not just about performance; it’s about creating an environment where you can fully immerse yourself in your gaming adventures. Whether you are battling it out in competitive esports or exploring vast open worlds, the right hardware, software, ergonomics, and personal touches can elevate your gaming experience to new heights.
Remember that your setup should adapt to your preferences, and regular maintenance is key to keeping it at its peak.
So, gear up, customize your gaming space, and get ready to conquer virtual worlds with the ultimate gaming setup!
Frequently Asked Questions
- What specifications should I look for in a gaming monitor?
- Answer: Look for a monitor with a high refresh rate (e.g., 144Hz or higher), low response time, and a resolution that suits your preferences (1080p, 1440p, or 4K). Consider features like G-Sync or FreeSync for smoother gameplay.
- Wired or wireless peripherals – which is better for gaming?
- Answer: Both wired and wireless peripherals can be suitable for gaming. Wired peripherals typically offer lower latency, while wireless options provide more flexibility. Choose based on personal preference and priorities.
- What is the importance of a gaming chair, and what features should I look for?
- Answer: A gaming chair is crucial for comfort during long gaming sessions. Look for ergonomic design, adjustable features (height, armrests, reclining), and durable materials.
- How can I optimize my internet connection for online gaming?
- Answer: Ensure a stable and high-speed internet connection by using a wired connection, upgrading to a faster plan if necessary, and minimizing network interference. Consider using a gaming router for better performance.
- What are the must-have gaming accessories?
- Answer: Must-have gaming accessories include a gaming mouse, mechanical keyboard, gaming headset with a microphone, and a mouse pad. Additional accessories like RGB lighting can enhance the aesthetic.
Tips & Tricks
How to Factory Reset Your Android Phone: A Simple Guide
How To
How to Activate 3D View on Google Maps

Google Maps offers a plethora of features to enhance your navigation experience, and one such feature is the ability to explore locations in 3D. By activating the 3D view, users can immerse themselves in a more lifelike representation of cities, landscapes, and landmarks. In this comprehensive guide, we’ll walk you through the step-by-step process of turning on 3D view on Google Maps across different platforms.
For Desktop Users
1. Open Google Maps: Launch your preferred web browser and navigate to the Google Maps website.
2. Switch to Satellite View: On the bottom-left corner of the screen, locate the square box labeled “Satellite” and click on it. This will switch the map view to satellite imagery.
3. Activate 3D View: While in satellite view mode, you’ll notice a “3D” button on the right-hand side of the screen, typically next to the compass icon. Click on this button to activate the 3D view. The map will tilt, providing a three-dimensional perspective.
4. Navigation and Exploration: Use your mouse to navigate in 3D. Click and drag to pan around the map. Hold down the Ctrl key (Cmd on Mac) and drag your mouse to adjust the angle or rotate the view. Scroll up and down to zoom in and out.
For Mobile Users (Android and iOS):
1. Open the Google Maps App: Launch the Google Maps app on your smartphone. If you don’t have the app installed, you can download it from the Google Play Store (for Android) or the Apple App Store (for iOS).
2. Select Satellite View: Once the app is open, tap on the layer icon, typically located in the upper-right corner of the screen. This will open the map type selection menu. Choose “Satellite” from the list of options.
3. Enable 3D View: Unlike the desktop version, activating the 3D view on mobile devices requires a different gesture. Use two fingers to swipe up on the screen. This action will tilt the view, transitioning it into 3D mode.
4. Explore in 3D: Navigate around the map by dragging with one finger. Pinch your fingers together or spread them apart to zoom in and out. To rotate the view, twist two fingers on the screen.
The 3D feature on Google Maps is a valuable tool for exploring and understanding geographical locations in a more immersive way. Whether you’re planning a trip, studying urban landscapes, or simply satisfying your curiosity, activating the 3D view can enhance your mapping experience significantly. By following the step-by-step instructions provided in this guide, you can easily unlock the full potential of Google Maps’ 3D capabilities across desktop and mobile devices. Happy exploring!
How To
How To Deactivate the Private Number Feature
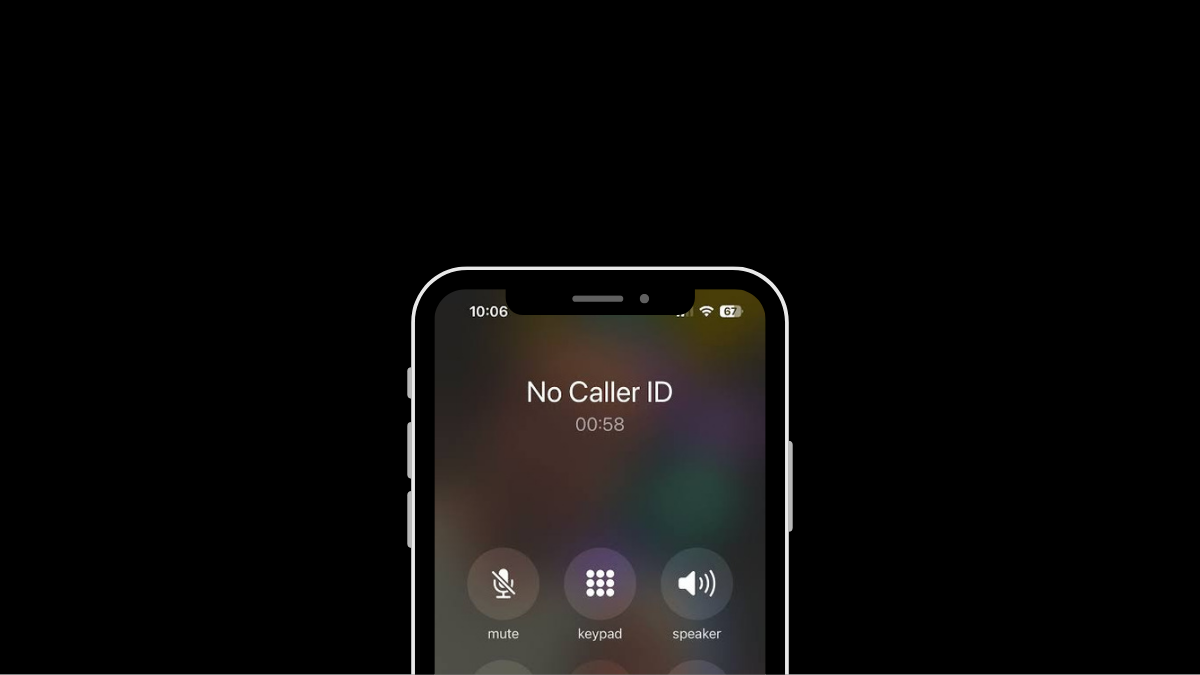
Having your phone number appear as “Private” or “Unknown” can be useful for maintaining privacy, but there are times when you might want to deactivate this feature. Whether you’re making important calls to friends, family, or businesses, having your number visible can enhance communication and ensure your calls are recognized and answered promptly. This guide provides step-by-step instructions for deactivating the private number feature on both iPhone and Android devices, empowering you to take control of your caller ID settings.
Deactivating Private Number on iPhone:
1. Open Settings: Locate and tap the Settings app on your iPhone’s home screen.
2. Access Phone Settings: Scroll down and tap on the “Phone” option in the Settings menu.
3. Caller ID Settings: Within the Phone settings, find and tap on the “Show My Caller ID” option.
4. Toggle Caller ID: Tap the toggle switch next to “Show My Caller ID” to turn it on (ensure it’s green). This action will make your phone number visible to recipients of your calls.
5. Verification: After enabling the setting, make a test call to confirm that your number now appears on the recipient’s caller ID.
6. Completion: Once your caller ID is successfully displayed, the private number feature is deactivated on your iPhone.
Deactivating Private Number on Android:
1. Open Phone App: Launch the Phone app on your Android device as if you were going to make a call.
2. Access Menu: Look for the three dots (menu) or additional options usually located at the top right corner of the screen. Tap on it.
3. Navigate to Settings: From the menu, select “Settings” or a similar option.
4. Find Caller ID Settings: Scroll through the settings options until you find “Supplementary Services,” “More settings,” or “Call settings.” Tap on it.
5. Caller ID Setting: Tap on “Show my caller ID,” “Caller ID,” or a similar option listed in the settings.
6. Select Display Option: Depending on your device, choose “Show number” or the equivalent to ensure your phone number is displayed to recipients of your calls.
7. Verification: Make a test call after adjusting the settings to confirm that your number now appears on the recipient’s caller ID.
8. Completion: Once your number is successfully displayed, the private number feature is deactivated on your Android device.
Additional Tips:
Patience: Changes to caller ID settings may take a few minutes to take effect. If your number still appears private immediately after making changes, wait a bit and try again.
Restart Device: If the settings don’t seem to apply, restarting your device can help refresh the settings.
Carrier Settings: If the issue persists, contact your phone carrier directly. They may have set your number to appear as private, and they can assist you in changing this setting.
By following these steps, you can easily deactivate the private number feature on both iPhone and Android devices, ensuring your calls are recognized and answered promptly.
-

 Tech News7 days ago
OnePlus 13 and 13R Potential Designs Unveiled
-

 Tech News4 days ago
Android to Introduce Theft Detection Lock: Detecting When Your Phone is Snatched
-

 Tech News7 days ago
Sony Xperia 1 VI Camera Sensors Revealed
-

 Tech News7 days ago
Apple Nearing Deal with OpenAI to Integrate Generative AI Features into iOS 18
-

 Reviews4 days ago
Sony Xperia 1 VI Set for Unveiling With a Remarkable Camera
-

 Tech News6 days ago
Google Pixel 9 Series to Introduce Four Distinct Models
-

 Reviews3 days ago
Xiaomi Redmi Note 13R Specifications
-

 Reviews3 days ago
OPPO Reno 12 Series: Design, Launch Date and Specifications


