Tips & Tricks
A Guide to Organizing Your Gadgets and Cables

Tips & Tricks
How to Factory Reset Your Android Phone: A Simple Guide
Tips & Tricks
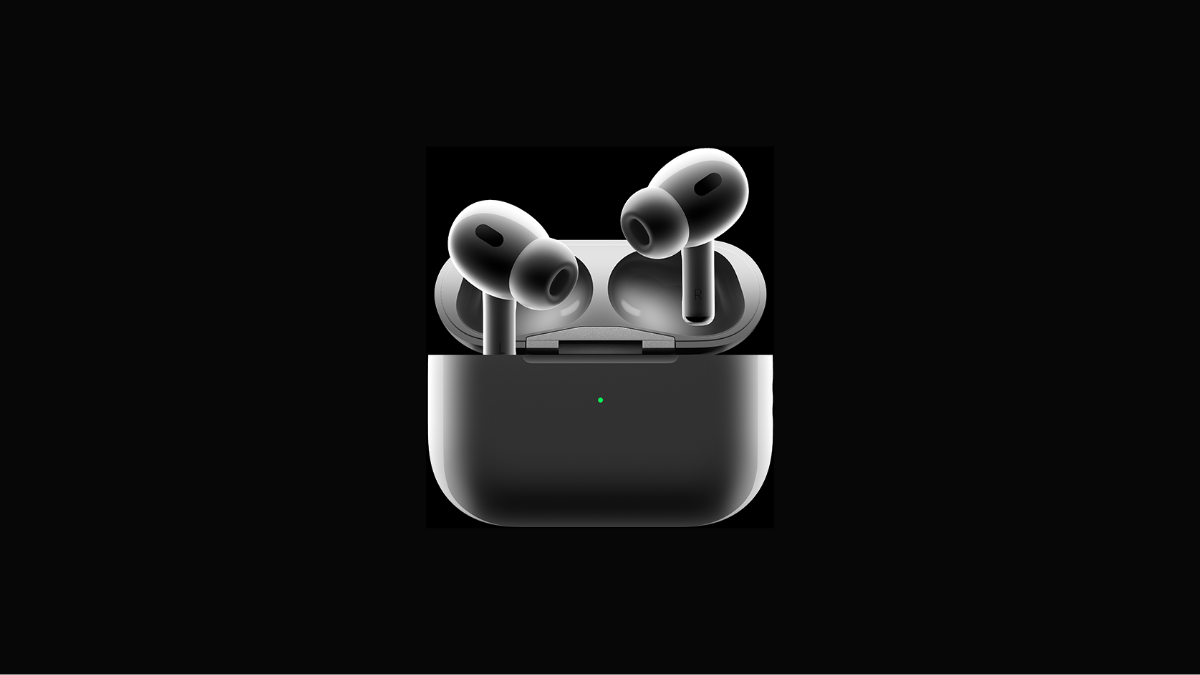
AirPods Pro 2 Tips

Apple’s AirPods Pro 2 have revolutionized the wireless earbuds market with their advanced features and seamless integration with iOS devices. Whether you’re a longtime user or just getting started with these cutting-edge earbuds, there are several tips and tricks you can use to enhance your listening experience and make the most out of your AirPods Pro 2. From hidden controls to personalized audio settings, here’s a guide to maximizing your AirPods Pro 2 experience.
Explore Hidden Control Center Options
The Control Center on your iPhone is a hub for managing various settings, including your AirPods Pro 2. To access hidden options, press and hold the volume slider while your AirPods are connected. This reveals a list of options such as noise control mode, conversational awareness, and spatial audio toggles. To further customize your Control Center, add the Hearing option by navigating to Settings > Control Center. Then, enable additional options like Background Sounds and Live Listen under Settings > Accessibility > Hearing Control Center.
Utilize Live Listen
Live Listen is a feature that amplifies sounds captured by your iPhone’s microphone and plays them directly through your AirPods. While primarily designed as an accessibility feature, Live Listen can also be used creatively, such as listening in on conversations in another room. Activate Live Listen by accessing the Hearing option in Control Center and selecting Live Listen.
Customize Audio with Headphone Accommodations
Tailor the sound profile of your AirPods Pro 2 to suit your preferences using Headphone Accommodations. Adjust the equalizer settings by going to Settings > Music > EQ, or utilize Apple’s Headphone Accommodations options for further customization. Choose from balanced tone, vocal emphasis, brightness, or boost soft sounds using the slider tool under Settings > Accessibility > Audio/Visual > Headphone Accommodations.
Personalize Spatial Audio
Take advantage of personalized spatial audio by utilizing your iPhone’s TrueDepth camera to map the shape of your ears. Access this feature under Settings > AirPods > Personalized Spatial Audio. Follow the on-screen instructions to calibrate spatial audio based on your ear shape, then enable it from the Control Center. Experience immersive audio with supported movies and music tailored to your unique ear anatomy.
Share Audio with a Friend
Share the joy of music or podcasts with a friend using the Share Audio feature. Simply swipe down to open the Control Center, tap the AirPods icon, and select Share Audio. Pair another pair of AirPods or Beats headphones with your device, and enjoy synchronized playback of your favorite content together.
Unlock Advanced Settings with Shortcuts
Harness the power of the Shortcuts app to automate and streamline your AirPods Pro 2 experience. Create custom shortcuts to switch noise control modes, adjust volume levels, or activate specific features upon connecting your AirPods to your iPhone. Explore the Shortcuts app to tailor your AirPods settings to your preferences and lifestyle.
By implementing these tips and tricks, you can unlock the full potential of your AirPods Pro 2 and elevate your listening experience to new heights. Whether you’re fine-tuning audio settings, exploring hidden features, or sharing music with friends, there’s something for everyone to enjoy with Apple’s innovative wireless earbuds.
Tips & Tricks
How To Hide Photos on an iPhone

If you’re looking to plan a surprise, hide an embarrassing photo, or simply keep certain images private, there are various reasons to hide photos in your iPhone’s camera roll. Fortunately, iOS16 and17 offers a convenient method to separate specific photos into a secure Hidden folder.
Here, we’ll show you how you can hide your photos on your iPhone and how to remove them from your Hidden folder too.
While you could delete these photos from your iPhone, having the option to hide them can prove invaluable, particularly if your phone frequently ends up in the hands of children or friends.
To begin, follow these steps:
Step 1: Open the Photos app on your iPhone, iPad, or iPod Touch.
Step 2: Locate and select the photos you wish to hide.
Step 3: Tap the More button.
Step 4: Select the Hide option.
Step 5: Your chosen photos will be moved to the Hidden album, which is under Utilities on the Albums tab.
Here are the steps to unhide or view hidden photos:
Step 1: Open the Photos app on your device.
Step 2: Navigate to the Albums tab at the bottom.
Step 3: Scroll down and tap on the Hidden folder under Utilities. You may need to authenticate with Face ID or Touch ID.
Step 4: Choose the photos you want to unhide by tapping on them.
Step 5: Tap the Overflow button in the bottom-left corner (the icon with an ellipsis enclosed by a circle).
Step 6: Select Unhide from the pop-up menu. The photos will then return to òĺ them to a specific album.
-

 Tech News7 days ago
OnePlus 13 and 13R Potential Designs Unveiled
-

 Tech News4 days ago
Android to Introduce Theft Detection Lock: Detecting When Your Phone is Snatched
-

 Tech News7 days ago
Sony Xperia 1 VI Camera Sensors Revealed
-

 Tech News7 days ago
Apple Nearing Deal with OpenAI to Integrate Generative AI Features into iOS 18
-

 Reviews4 days ago
Sony Xperia 1 VI Set for Unveiling With a Remarkable Camera
-

 Tech News6 days ago
Google Pixel 9 Series to Introduce Four Distinct Models
-

 Reviews3 days ago
Xiaomi Redmi Note 13R Specifications
-

 Reviews3 days ago
OPPO Reno 12 Series: Design, Launch Date and Specifications


