How To
How To Use Voice Commands for Hands-Free Control.

In a world where technology continues to advance, the convenience of hands-free control has become increasingly prominent. Voice commands have emerged as a powerful tool for managing our devices and simplifying daily tasks.
In this blog post, we will explore the wonders of voice commands, how to use them effectively, and the potential they hold for revolutionizing our lives.
1: Understanding Voice Assistants
Voice assistants, like Siri, Google Assistant, and Alexa, have gained widespread popularity.
They work by using natural language processing to understand and respond to verbal commands. These assistants are available on various devices, such as smartphones, smart speakers, and even in some cars.
2: Setting Up Your Device for Voice Control
To get started with voice commands, you need to set up your device to recognize your voice and respond to your requests. This typically involves enabling the voice assistant and adjusting settings for personalized use.
For example, you can teach your voice assistant to recognize your voice better by going through a brief training process.
3: Basic Voice Commands
Voice commands make everyday tasks a breeze. Here are some basic commands to get you started:
- Setting Alarms and Reminders: You can simply say, “Set an alarm for 7 AM” or “Remind me to buy groceries at 3 PM.”
- Sending Texts and Making Calls: “Send a text to [contact name]” or “Call [contact name].”
- Checking the Weather: “What’s the weather like today?”
4: Advanced Voice Commands
Voice commands extend far beyond the basics. With the right setup, you can control your smart home devices, shop online, and manage your entertainment:
- Smart Home Control: “Switch off the lights” or “Set the thermostat to 72 degrees”
- Online Shopping: “Order more paper towels from Amazon.”
- Entertainment: “Play my favourite playlist on Spotify” or “Play ‘Stranger Things’ on Netflix.”
5: Tips for Effective Voice Command Usage
To make the most out of voice commands, consider these tips:
- Speak Clearly and Naturally: Enunciate your words, but don’t overdo it. Speak as if you were talking to a person.
- Privacy and Security: Be mindful of your surroundings, especially when using voice commands in public. Your device might pick up unintended requests.
- Troubleshooting: If your device doesn’t understand a command, rephrase it or check your internet connection.
6: Voice Command Accessibility
Voice commands are a game-changer for accessibility. They benefit people with disabilities by providing an alternative means of interaction with technology.
Many voice assistants offer accessibility features, such as screen reading for the visually impaired or voice-controlled navigation for those with mobility challenges.
7: Future Trends in Voice Command Technology
Voice command technology continues to evolve. Here’s a glimpse into the future:
- Voice and AI: Expect voice commands to become even more integrated with artificial intelligence, allowing for more natural and context-aware interactions.
- Industry Impact: Industries like healthcare, customer service, and education are exploring ways to leverage voice commands to improve efficiency and user experience.
- Multilingual Support: Enhanced language support will enable voice commands in multiple languages, broadening accessibility on a global scale.
Voice commands are reshaping the way we interact with technology. Whether you are simplifying daily tasks, controlling your smart home, or enhancing accessibility, voice commands offer unparalleled convenience.
As technology continues to advance, the potential applications for hands-free control are limitless. Embrace the future and make the most of voice commands to streamline your life.
Frequently Asked Questions
1. Q: How do I activate voice commands without touching my device?
A: You can usually activate voice commands by using a wake word or phrase. For example, saying “Hey Siri” for Apple devices or “Okay Google” for Android devices can trigger voice commands without touching the device.
2. Q: Can I customize the wake word for voice commands?
A: The wake word is often predefined by the device’s manufacturer and may not be customizable. Check your device’s settings to see if there’s an option to change the wake word.
3. Q: What are some popular voice-activated personal assistants?
A: Siri (Apple), Google Assistant (Google), and Amazon Alexa are among the most popular voice-activated personal assistants, each available on different platforms and devices.
4. Q: Can I use voice commands to control third-party apps and services?
A: Many voice assistants allow integration with third-party apps and services. Check the compatibility and settings within the voice assistant app to enable such integrations.
5. Q: Are voice commands secure, and can they be used privately?
A: Voice commands are designed with privacy in mind. Voice data is often processed on the device or in secure cloud environments. You can review and manage voice data privacy settings in your device’s settings.


Google Maps offers a plethora of features to enhance your navigation experience, and one such feature is the ability to explore locations in 3D. By activating the 3D view, users can immerse themselves in a more lifelike representation of cities, landscapes, and landmarks. In this comprehensive guide, we’ll walk you through the step-by-step process of turning on 3D view on Google Maps across different platforms.
For Desktop Users
1. Open Google Maps: Launch your preferred web browser and navigate to the Google Maps website.
2. Switch to Satellite View: On the bottom-left corner of the screen, locate the square box labeled “Satellite” and click on it. This will switch the map view to satellite imagery.
3. Activate 3D View: While in satellite view mode, you’ll notice a “3D” button on the right-hand side of the screen, typically next to the compass icon. Click on this button to activate the 3D view. The map will tilt, providing a three-dimensional perspective.
4. Navigation and Exploration: Use your mouse to navigate in 3D. Click and drag to pan around the map. Hold down the Ctrl key (Cmd on Mac) and drag your mouse to adjust the angle or rotate the view. Scroll up and down to zoom in and out.
For Mobile Users (Android and iOS):
1. Open the Google Maps App: Launch the Google Maps app on your smartphone. If you don’t have the app installed, you can download it from the Google Play Store (for Android) or the Apple App Store (for iOS).
2. Select Satellite View: Once the app is open, tap on the layer icon, typically located in the upper-right corner of the screen. This will open the map type selection menu. Choose “Satellite” from the list of options.
3. Enable 3D View: Unlike the desktop version, activating the 3D view on mobile devices requires a different gesture. Use two fingers to swipe up on the screen. This action will tilt the view, transitioning it into 3D mode.
4. Explore in 3D: Navigate around the map by dragging with one finger. Pinch your fingers together or spread them apart to zoom in and out. To rotate the view, twist two fingers on the screen.
The 3D feature on Google Maps is a valuable tool for exploring and understanding geographical locations in a more immersive way. Whether you’re planning a trip, studying urban landscapes, or simply satisfying your curiosity, activating the 3D view can enhance your mapping experience significantly. By following the step-by-step instructions provided in this guide, you can easily unlock the full potential of Google Maps’ 3D capabilities across desktop and mobile devices. Happy exploring!
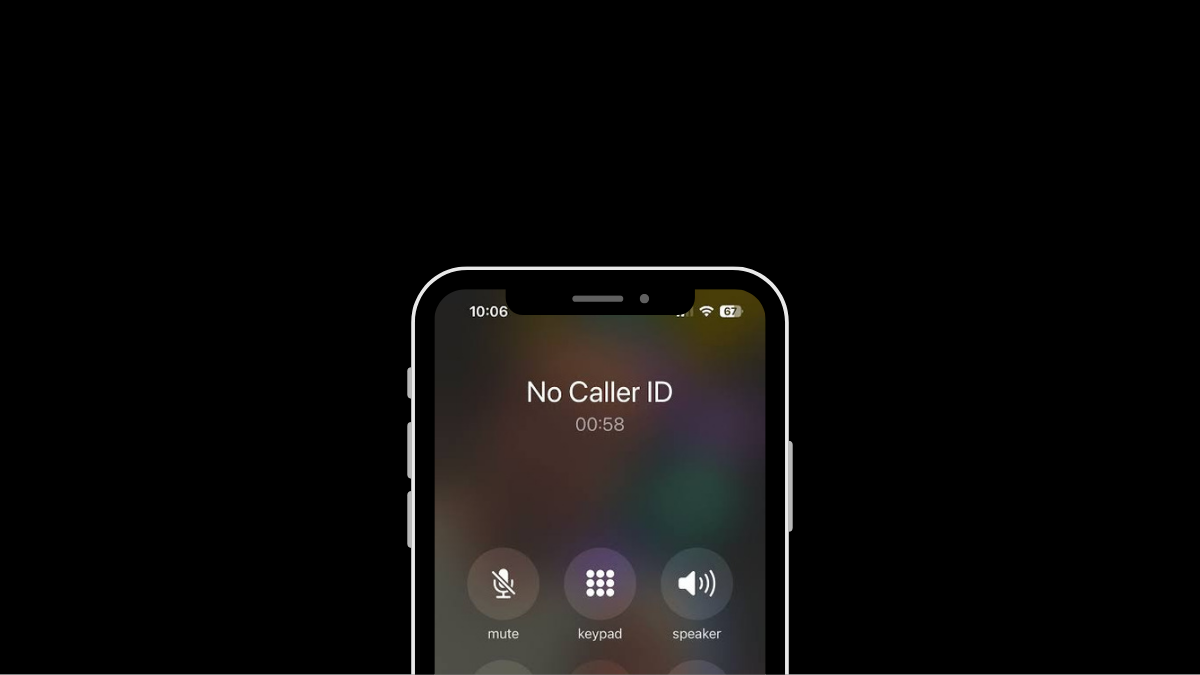
Having your phone number appear as “Private” or “Unknown” can be useful for maintaining privacy, but there are times when you might want to deactivate this feature. Whether you’re making important calls to friends, family, or businesses, having your number visible can enhance communication and ensure your calls are recognized and answered promptly. This guide provides step-by-step instructions for deactivating the private number feature on both iPhone and Android devices, empowering you to take control of your caller ID settings.
Deactivating Private Number on iPhone:
1. Open Settings: Locate and tap the Settings app on your iPhone’s home screen.
2. Access Phone Settings: Scroll down and tap on the “Phone” option in the Settings menu.
3. Caller ID Settings: Within the Phone settings, find and tap on the “Show My Caller ID” option.
4. Toggle Caller ID: Tap the toggle switch next to “Show My Caller ID” to turn it on (ensure it’s green). This action will make your phone number visible to recipients of your calls.
5. Verification: After enabling the setting, make a test call to confirm that your number now appears on the recipient’s caller ID.
6. Completion: Once your caller ID is successfully displayed, the private number feature is deactivated on your iPhone.
Deactivating Private Number on Android:
1. Open Phone App: Launch the Phone app on your Android device as if you were going to make a call.
2. Access Menu: Look for the three dots (menu) or additional options usually located at the top right corner of the screen. Tap on it.
3. Navigate to Settings: From the menu, select “Settings” or a similar option.
4. Find Caller ID Settings: Scroll through the settings options until you find “Supplementary Services,” “More settings,” or “Call settings.” Tap on it.
5. Caller ID Setting: Tap on “Show my caller ID,” “Caller ID,” or a similar option listed in the settings.
6. Select Display Option: Depending on your device, choose “Show number” or the equivalent to ensure your phone number is displayed to recipients of your calls.
7. Verification: Make a test call after adjusting the settings to confirm that your number now appears on the recipient’s caller ID.
8. Completion: Once your number is successfully displayed, the private number feature is deactivated on your Android device.
Additional Tips:
Patience: Changes to caller ID settings may take a few minutes to take effect. If your number still appears private immediately after making changes, wait a bit and try again.
Restart Device: If the settings don’t seem to apply, restarting your device can help refresh the settings.
Carrier Settings: If the issue persists, contact your phone carrier directly. They may have set your number to appear as private, and they can assist you in changing this setting.
By following these steps, you can easily deactivate the private number feature on both iPhone and Android devices, ensuring your calls are recognized and answered promptly.

Xiaomi Redmi Note 13R Specifications
Android 15 Beta 2 Unveiled With Enhanced Features

OPPO Reno 12 Series: Design, Launch Date and Specifications
-

 Tech News7 days ago
OnePlus 13 and 13R Potential Designs Unveiled
-

 Tech News3 days ago
Android to Introduce Theft Detection Lock: Detecting When Your Phone is Snatched
-

 Tech News6 days ago
Sony Xperia 1 VI Camera Sensors Revealed
-

 Tech News7 days ago
Apple Nearing Deal with OpenAI to Integrate Generative AI Features into iOS 18
-

 Reviews4 days ago
Sony Xperia 1 VI Set for Unveiling With a Remarkable Camera
-

 Tech News6 days ago
Google Pixel 9 Series to Introduce Four Distinct Models
-
 Reviews2 days ago
Xiaomi Redmi Note 13R Specifications
-
 Reviews3 days ago
OPPO Reno 12 Series: Design, Launch Date and Specifications